Graphic T DIY

Here is a step-by-step on how to make all your T-shirts more fun and unique!
Most of the t-shirts I have are from the thrift store, usually finding them from $1-$5.
I'd have to say for my first graphic t-shirt I am extremely satisfied, then again Frida makes anything look good.
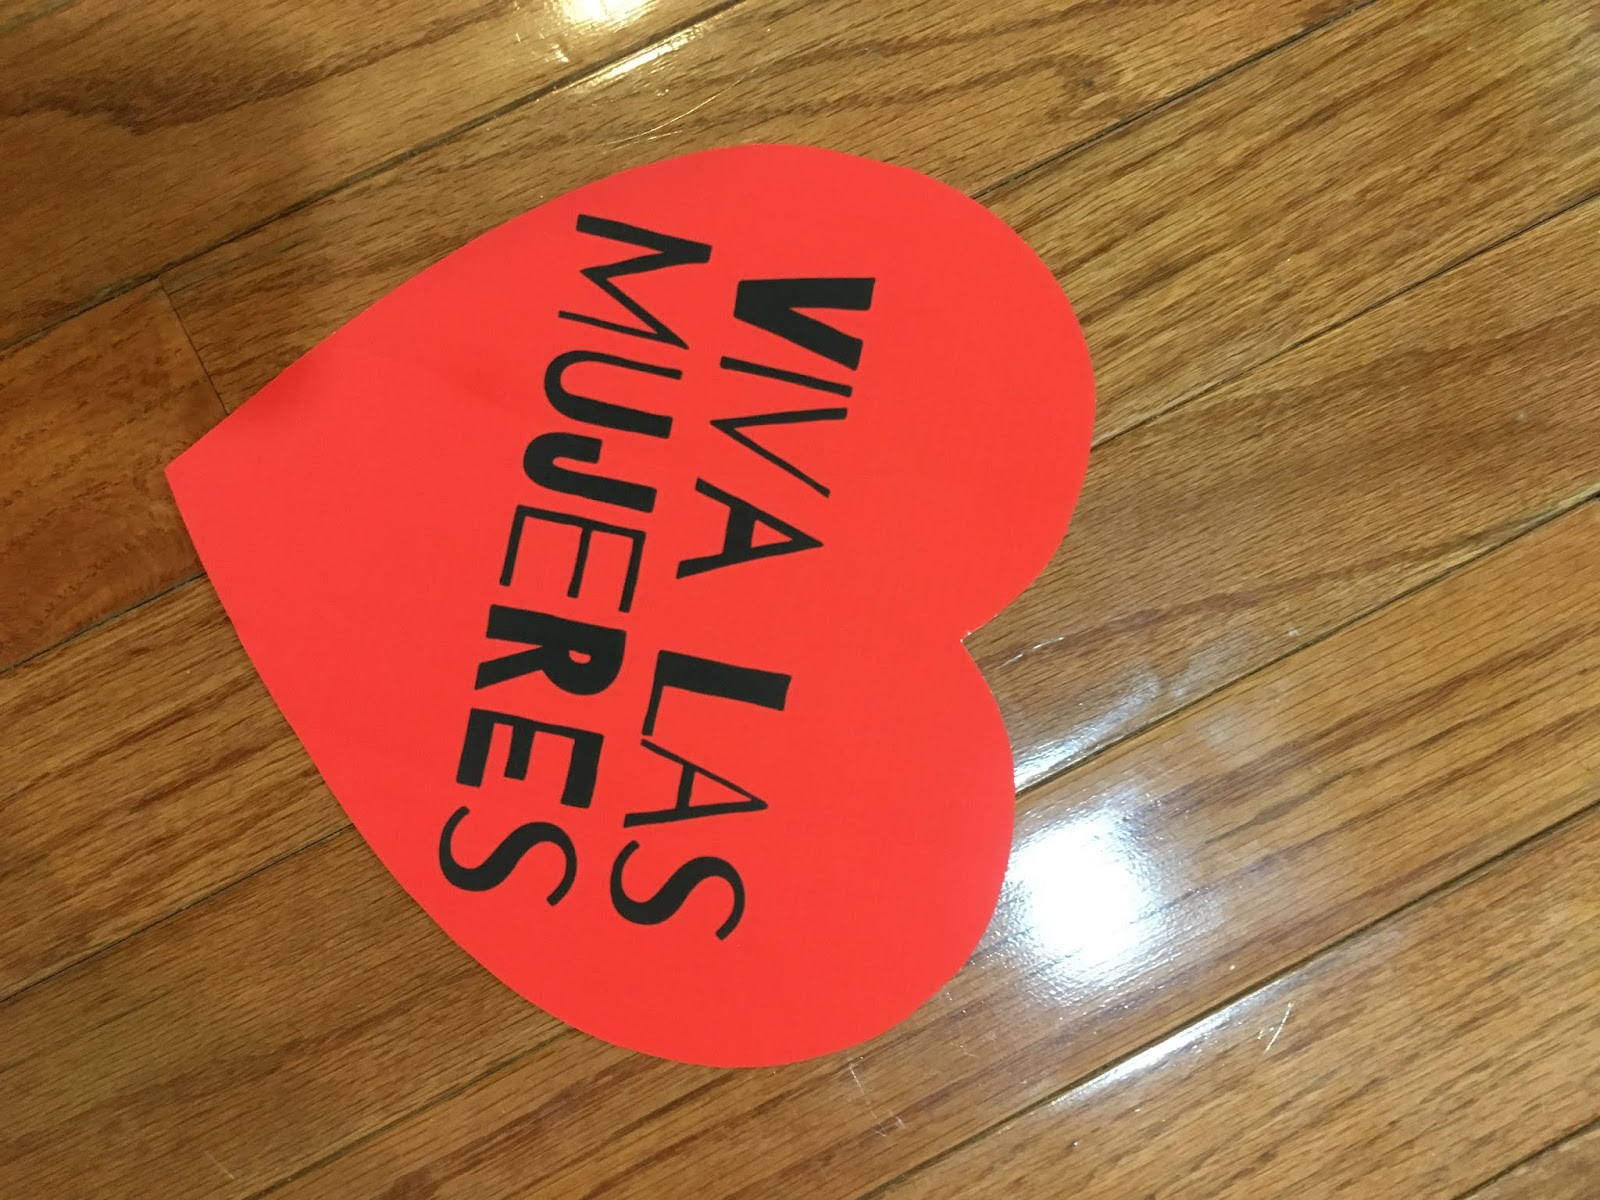
Since I got so much positive feedback on this t-shirt I decided to make a blog post with a step-by-step on how you can make your own! Below I am featuring a different t-shirt I made for International Women's Day. I hope you enjoy :)
What you'll need:
- Transfer Paper (Dark T-Shirt ) (Light T-Shirt )
- Inkjet printer
- Iron
- Pillow Case (to place under your t-shirt)
- Solid T-shirt
- Hard surface to iron (this is to avoid bumps and curling)
- Scissors
Side Note: The link provided is the transfer paper I used which is for dark clothing specifically. If you plan to make a design for light t-shirts use them as labeled.
Please read all directions as they are important to make your shirt come out looking fabulous!
Let's get started!
- Make/Choose Your Design.
This is usually the fun but challenging part because there is so much to choose from! Plus you want to choose what you'll print wisely because transfer paper can get pricey quick. If you're like me then your color ink will be the other expense problem Haha.
My best advice is if you are not going to use the whole page, try to! Don't waste paper when you can print more than one design and use it in the future!
This is how I set up the designs I wanted to print, you can do this on a word document.

Once I filled my paper as much as I could I was satisfied to go to the next step...
2. Setting Up Printer
The transfer paper is blank on one side and instructions on the back side. Most likely the instructions will need to be facing up and blank side will need to be facing down as shown below.
Before printing...

Once Printed...

3. Cut Out Your Design (Carefully)
This is where the scissors come in. Keep in mind what you're cutting is going on your shirt. I try to avoid having any white outline on my picture because I know that will appear on my shirt once ironed.

4. Measure It On Your Shirt.
Before peeling off the back side of the transfer paper you want to place it on your shirt and see where you would like it ironed. You can use a white pen or fabric chalk to mark where you would like it to be ironed. I marked the top and bottom of the heart to get an idea of where to place it once peeled off.

5. Peel Backside of Transfer Paper
Carefully and slowly peel off the label side of transfer paper. You don't want to rush this because the paper is thin and can easily curl up on you.

6. Place Tissue Paper To Start Ironing.
We're getting closer to the big finale!
Once you place your peeled design back to where you want it PLEASE place tissue paper BEFORE ironing. You should already have your iron on at this point so it's nice and hot for ironing. Iron can not be on steam setting so please empty out all water and place it on "cotton" setting. Tissue paper should be on top of your design. You should be ironing on a hard surface to avoid bumps or curling followed by a pillowcase to avoid any hard marks on your shirt, then your shirt, then your design, and finally your tissue paper. It should look something like this...

7. Iron!
As mentioned above, iron should be on "cotton" setting. Avoid any steam setting, it could cause damage to color on your design. ironing should be up to 2-3min, not that long.Try not to place iron too long on one spot, keep moving and ironing tissue paper until you think design is stuck to your shirt.
Once you're done, leave for a minute to cool down before taking tissue paper off of design.

After taking tissue paper off I would still let it cool down for 5 minutes before wearing.

8. Wear It!!!
Congrats! You have made your own graphic-t ! Now you can go out and show off your shirt :)
I hope you enjoy :)


I know these instructions may seem like it's a lot but it's actually very simple! I just wanted to make sure to give you a thorough run down on how to make your own!!
Until next time...
~Rosana


Comments
Post a Comment